
(Note: It’s been a year so I’m going from memory here)
I got the C64 powered on and got the main screen that is so familiar to C64 users (sorry, I forgot to take a screenshot). YES!
But I noticed a lot of problems when I typed on the keyboard. Some keys didn’t work at all, and some keys had to be pressed REALLY HARD to get any reaction. I couldn’t load anything from the diskette drives so this C64 is still pretty much unusable. But I didn’t give up. I figured it was worth taking it apart and cleaning the keys however I could.
I looked for some YT videos, and I found this one:
The one problem with this video is that there are 2 wires connected to the shift lock key that are soldered on and in this video they just remove them without saying anything about it. I had to find a second video to find out that clearly stated you have to either de-solder these wires or just cut them and live without a CAPS LOCK key.
Sadly, I don’t know how to solder, and I didn’t want to damage the CAPS LOCK key, so I opened the keyboard and left those wires in tact. I might not type a lot on this computer but I just can’t stomach the thought of damaging this. This gave me less room to clean the keys, but I figured it was worth trying.
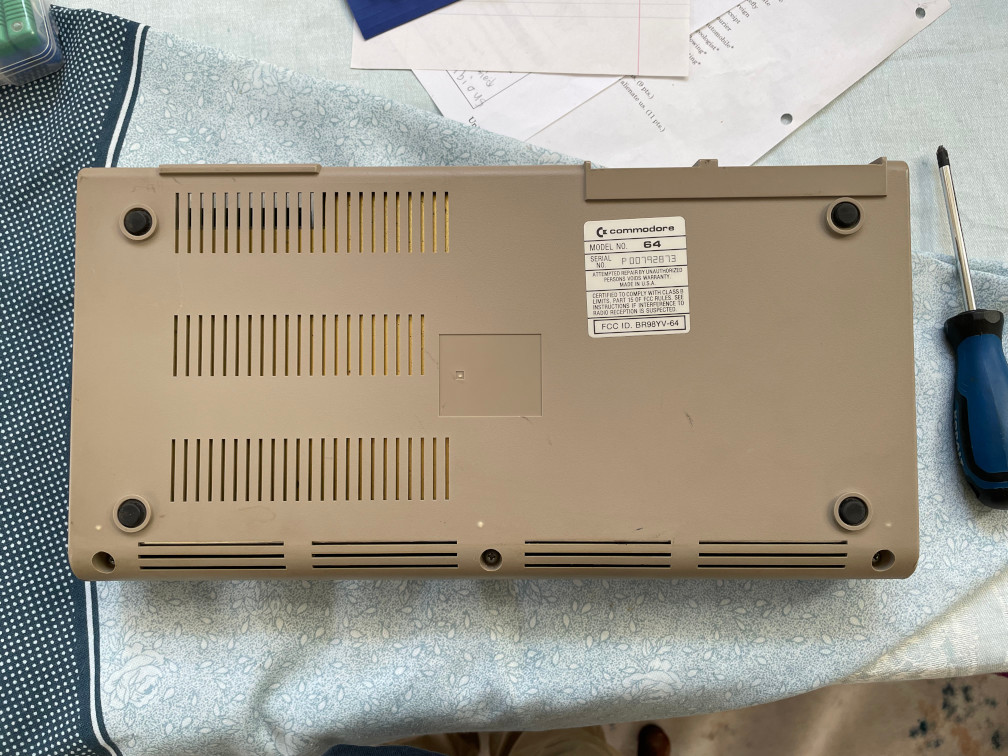
So first I turned the C64 on its front so I can open the back:
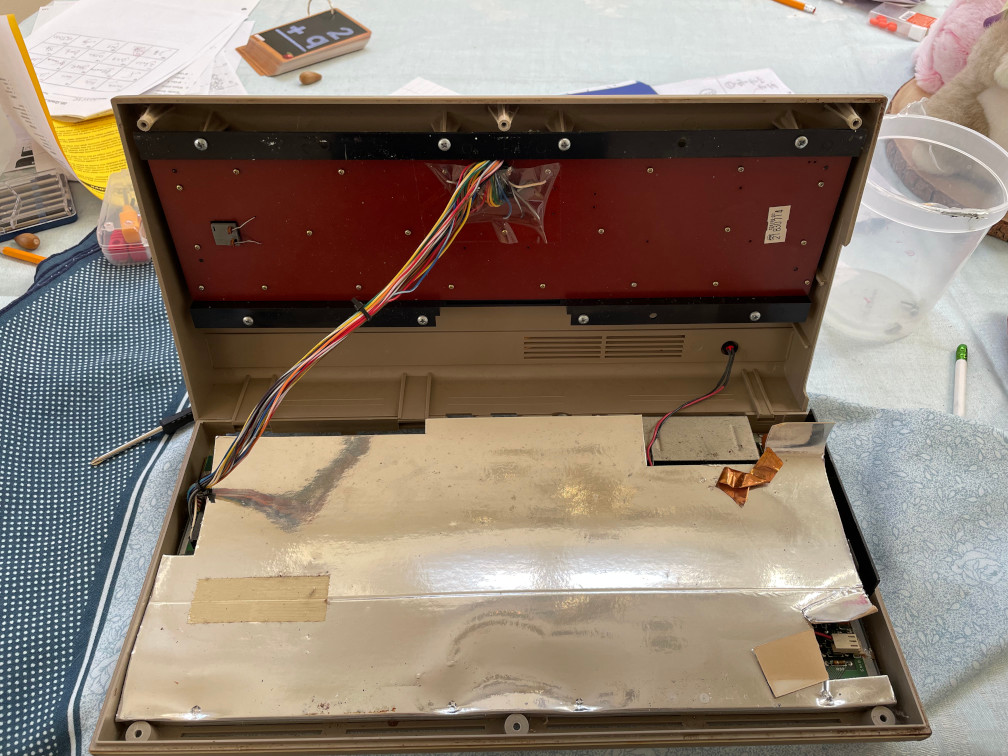
Next I opened the C64. You can see the cable harness going under the foil-looking cover.
Now with the computer completely open, I removed the connector and started to remove the screws holding the keyboard to the frame.
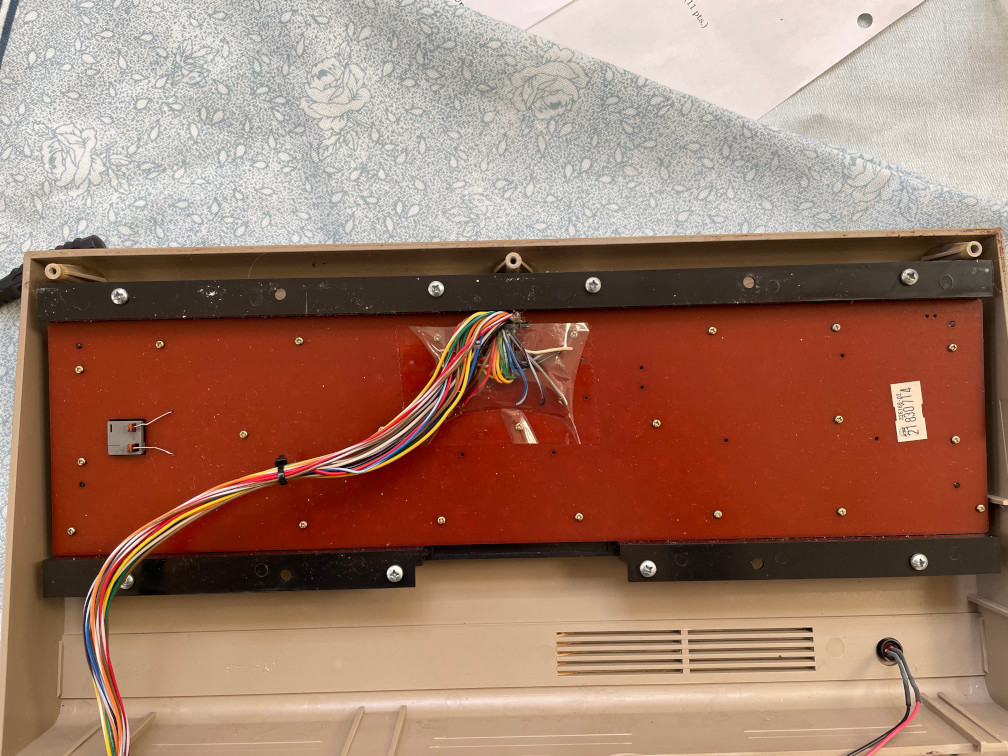
The Keyboard removed, now I’m ready to clean the keys and the board.

As mentioned, I couldn’t remove the circuit board completely, so I had to hold the left side at an angle so I could clean the keys around the CAPS LOCK key.
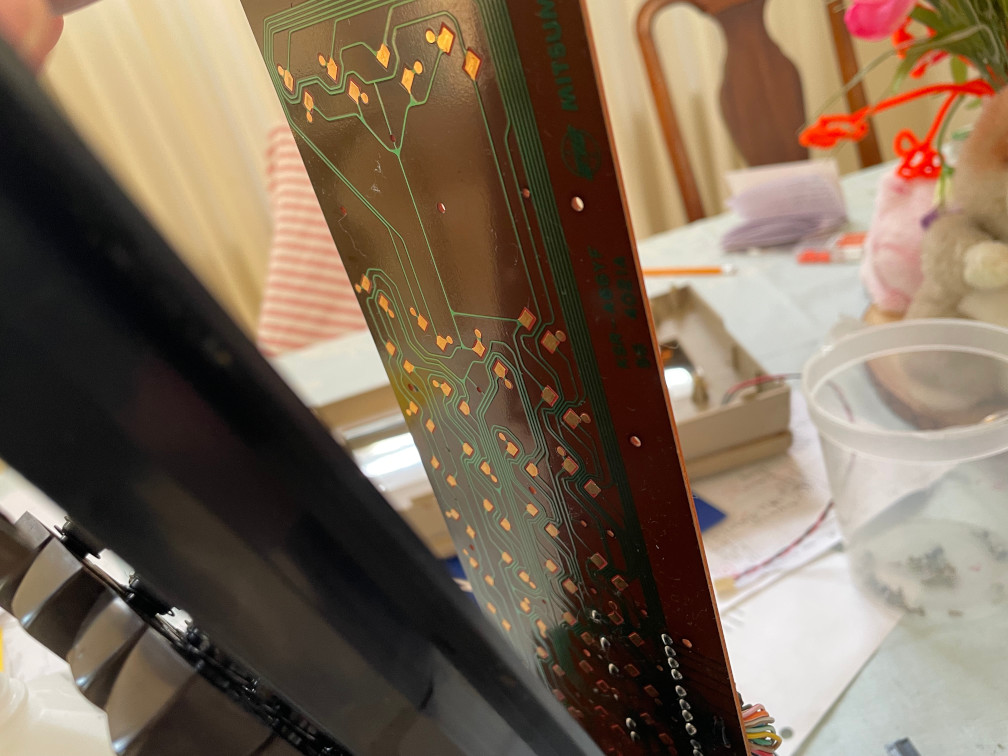
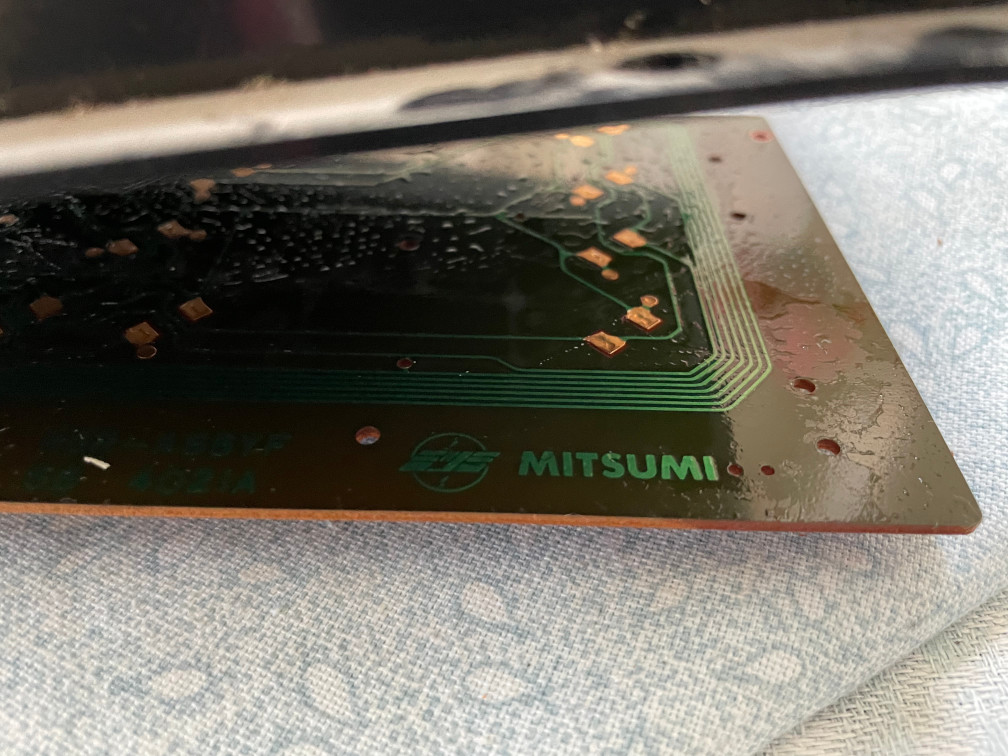
I managed to get it quite clean. I also thought it was cool to see that this was a MITSUMI board. The keyboards I used with the first PCs I sold back in 1995 were Mitsumi keyboards.
After several wipes with Q-tips and lots of rubbing alcohol, I did my best to wipe off the board and as much dirt and grime in between keys. Many of these were jet black and I wish I had taken pics of those. Once this was over I put it back together and tested.
Success!! Now most keys work. A few keys by the CAPS LOCK require a relatively strong push but they all worked.
Now I’ll be able to type “Load “*”,8,1″ and run games! My next chapter will show some real gems!