Commodore games, part III: The Last Ninja and Uchi Mata

The 80s was a huge “Ninja craze” period. There were Ninja movies, Ninja comics, Ninja turtles, and of course, tons of Ninja games. The C-64 was no exception, and one of the biggest titles was Activision’s “The Last Ninja”. There were all types of faux paus with this game (a Buddha statue in a Shinto shrine, for example), but who cares, it was fun. Or it was at the time.

Activision Logo
Before they were evil…

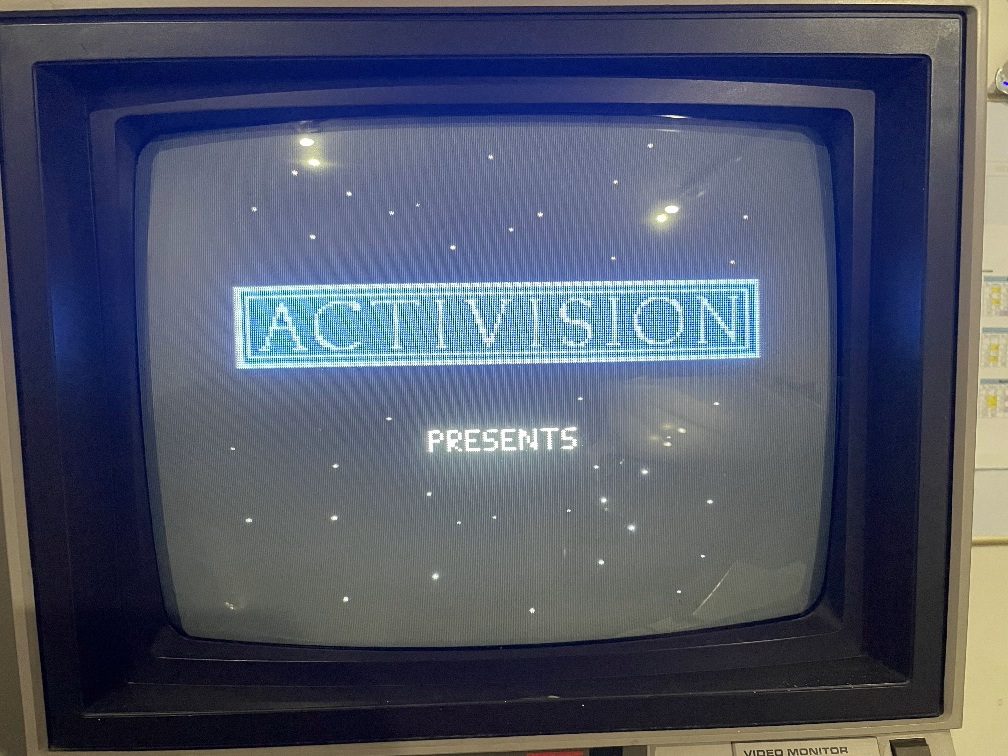
Ah, the familiar Activision title screen. They really started in the 80s with the “games as a movie” experience, and this game was no exception.

Last Ninja title page
Ah, the Ninja craze of the 80s

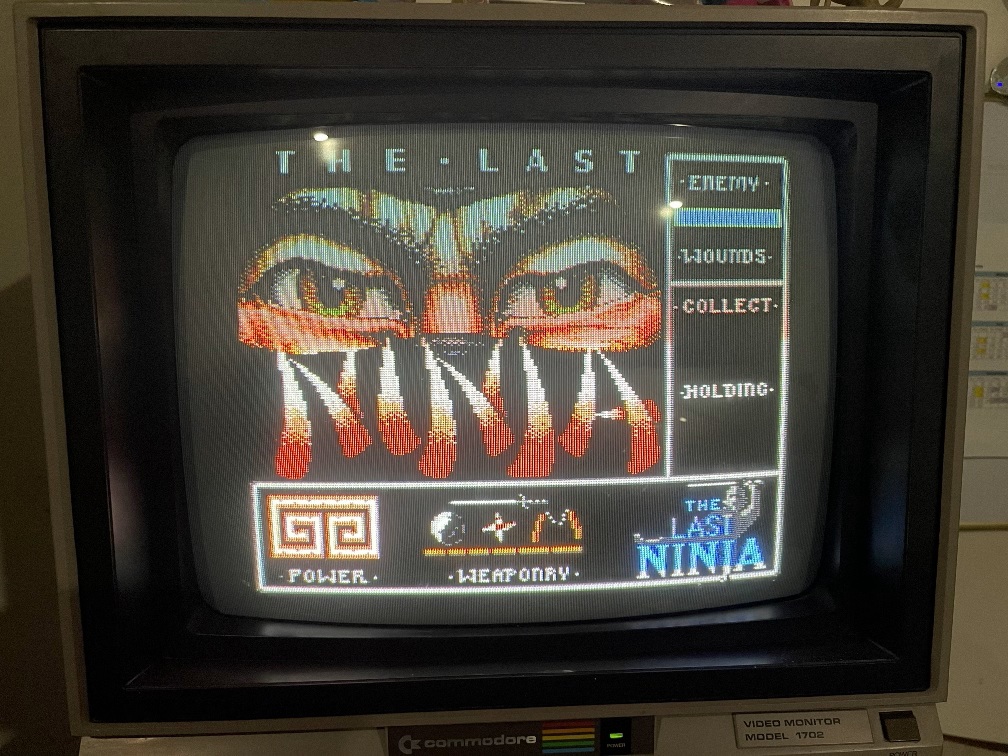
GREAT title screen. The music starts playing and my teenage self gets really pumped to be a Ninja in Japan.

Last Ninja gameplay
Off to do Ninja stuff

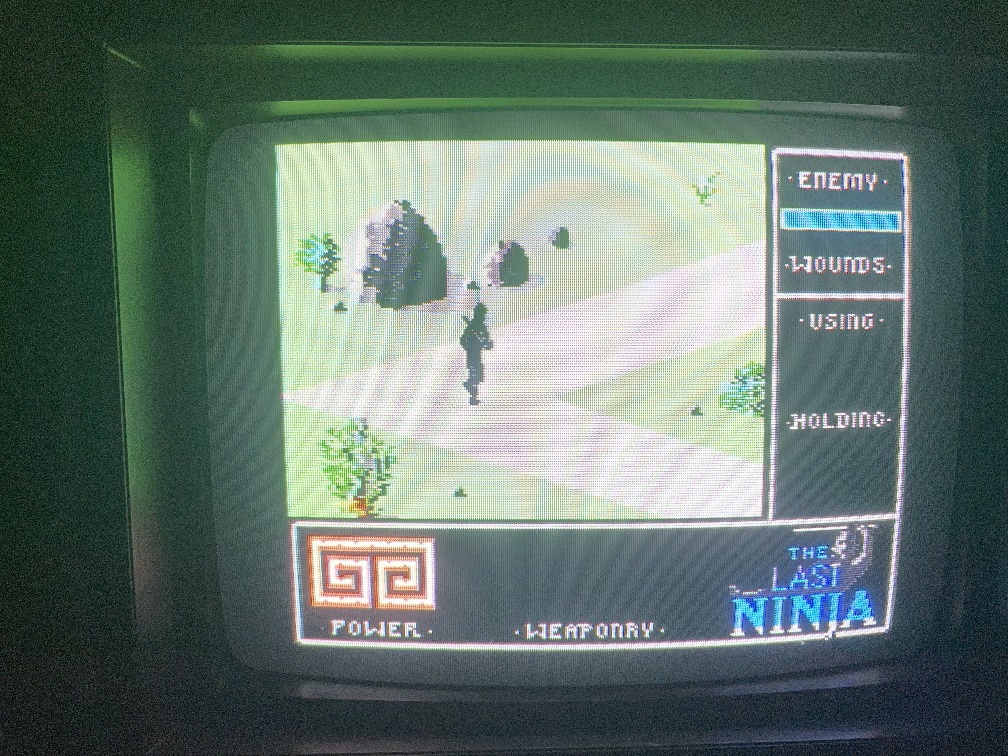
As you can see we start off with no weapons and the axis of movement is diagonal. This makes initial movement really tricky. But with some time I figured it out and went on to beat up 2 opponents.

Last Ninja fight scene
Thought you were BAD, eh?

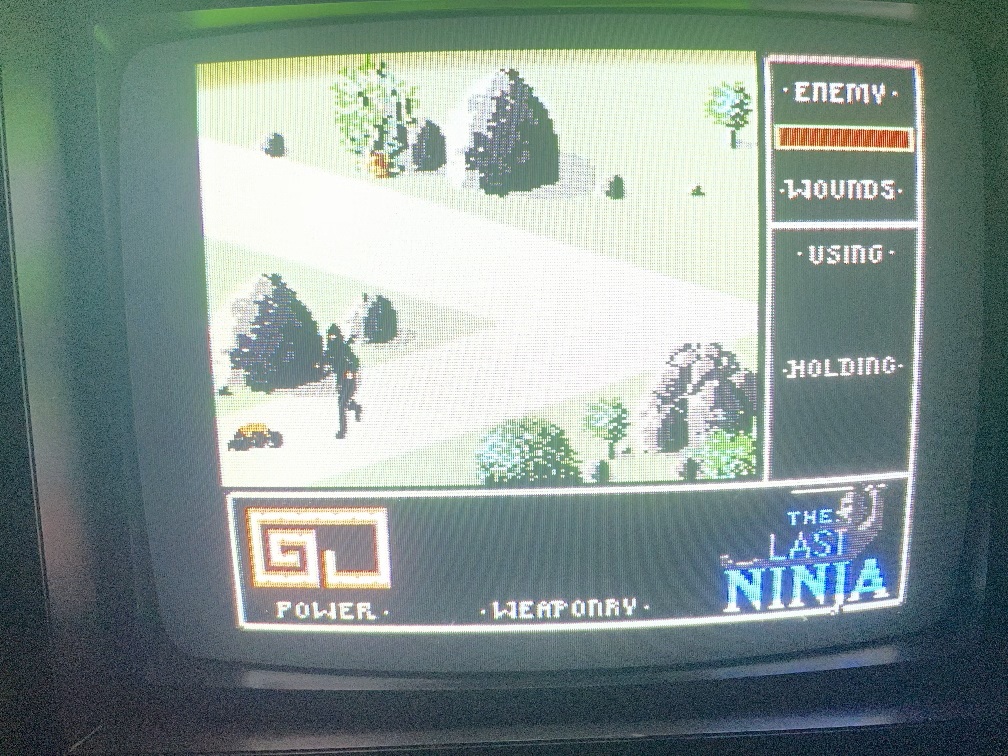
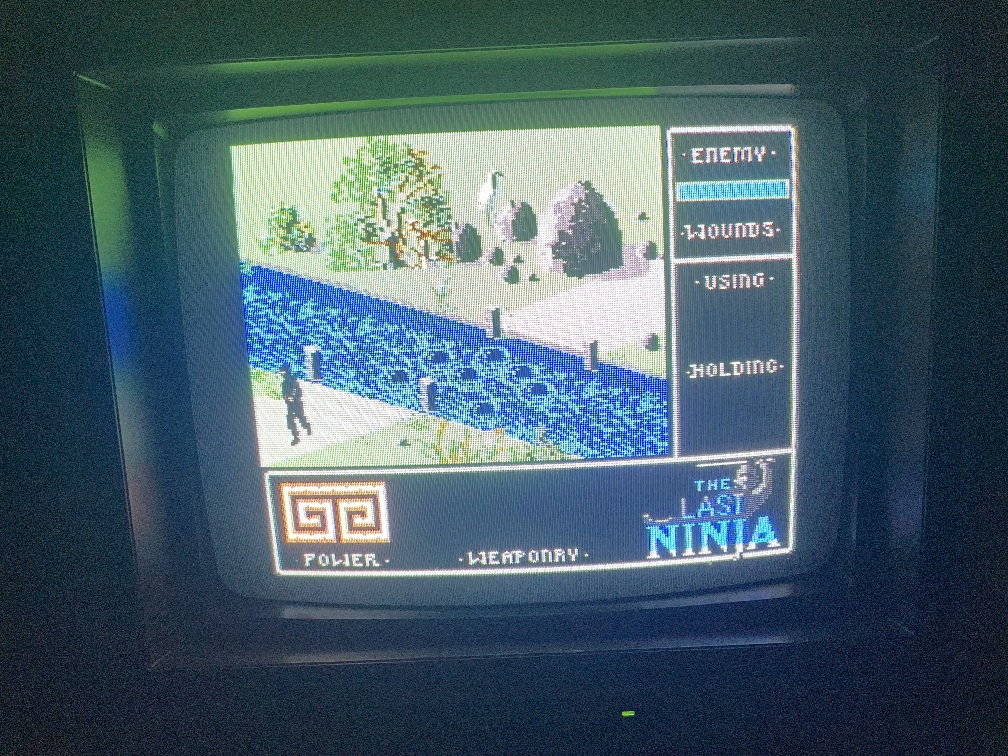
Despite beating these guys I didn’t earn any weapons. But I kept tregging along. When you arrive at the river, if you fall in you literally die. Luckily, it’s easy to jump over.

Last Ninja gameplay
Splash time

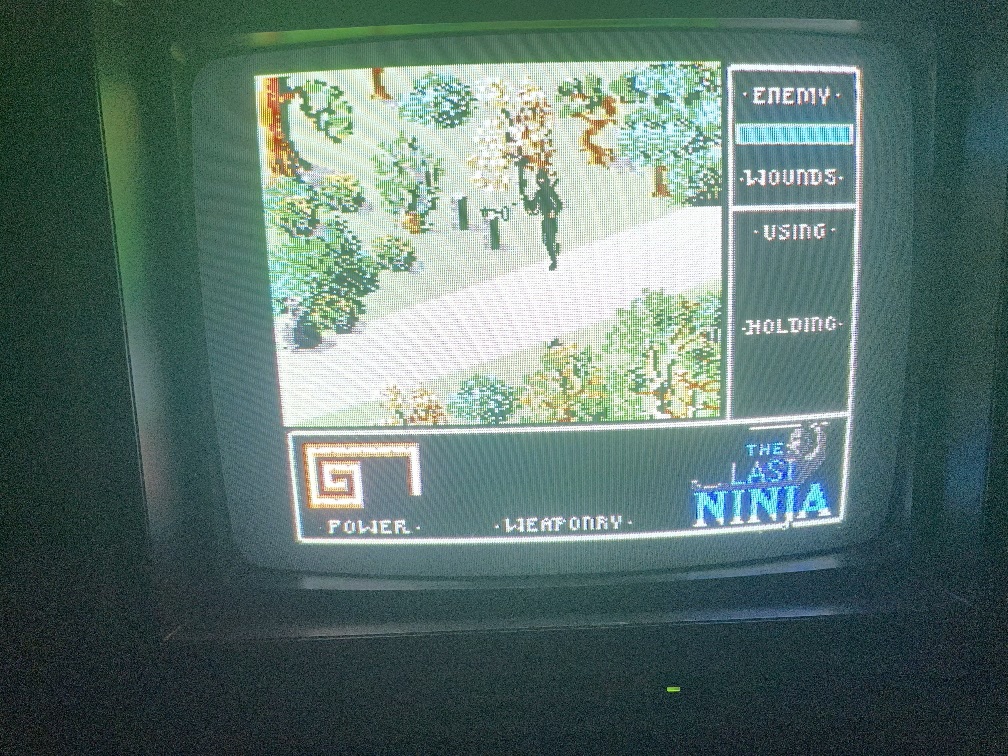
Once I got to a key screen I got stuck. I tried a number of keys on the keyboard to take the key; nothing worked. Nothing from the joystick worked. After a few minutes I just gave up. I couldn’t move back or do anything after this and it’s really boring, so I just gave up.

Last Ninja gameplay
A KEY scene

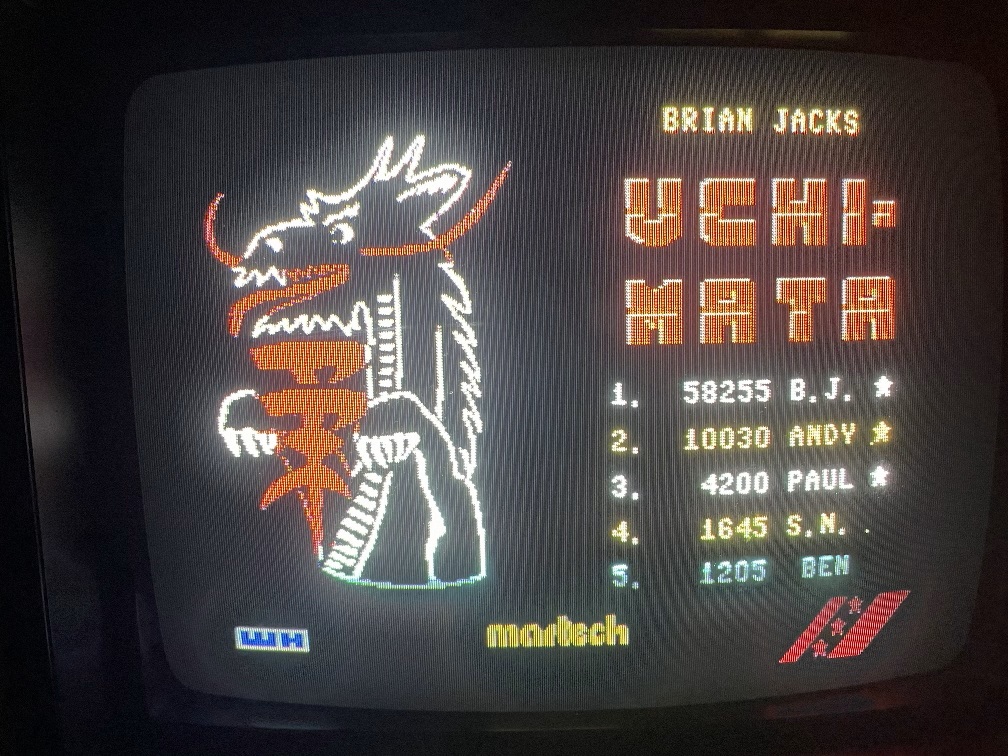
Since being a Ninja was way less fun than I thought, I thought I’d try some Judo! Firing up “Uchi Mata”

Uchi Mata Title Screen
You’ll FLIP for good title screens!

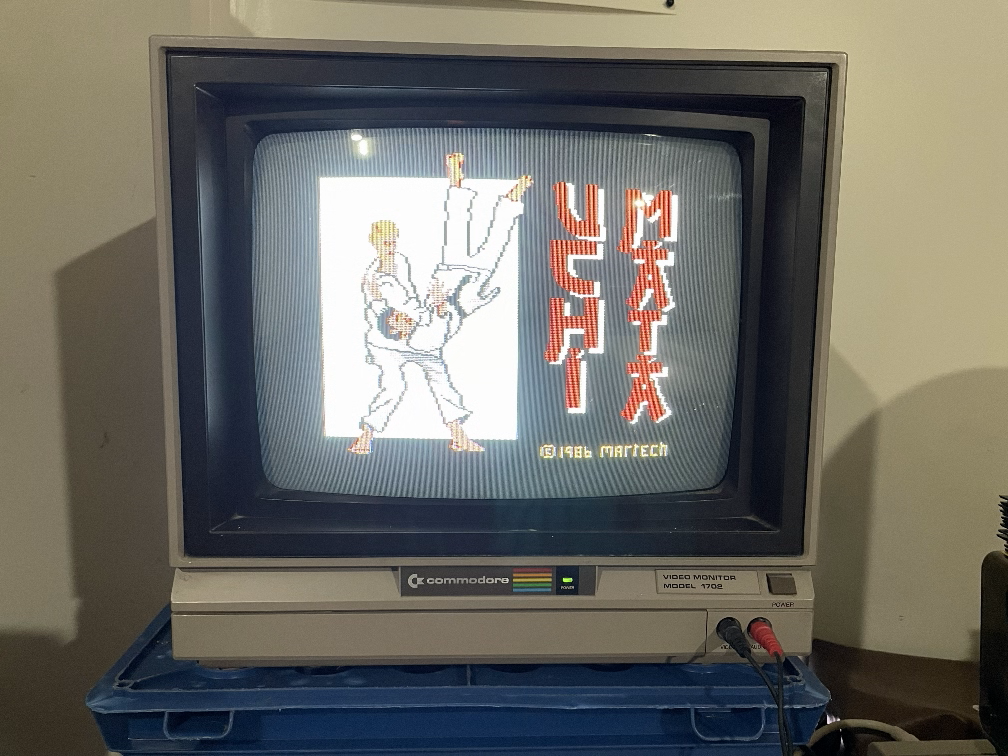
Uchi Mata has a great title screen, which is ironic because an Uchi Mata is a move throwing someone by moving your leg in between theirs and making them lose their balance (don’t be impressed, I had to look it up).

For details, see this link: Uchi Mata.

Uchi Mata Game Screen
It begins

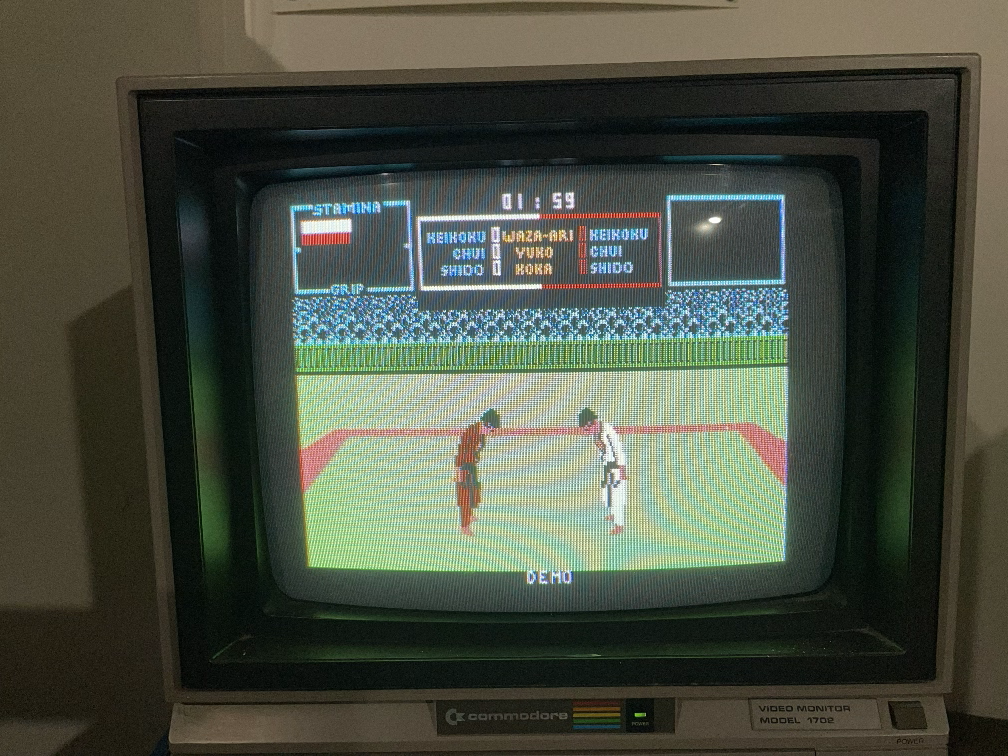
This game really made me think of the 80s classic “Karate Champ”. The characters look almost exactly the same and the movement was a lot like that game as well.

The problem with this game is that like Karate Champ, the moves were really tricky. Maybe it required 2 joysticks like that one did, I don’t know. After a few minutes I switched it off since I couldn’t figure out the moves. Every now and then I could throw my opponent.

Uchi Mata Game Screen
Down you go!

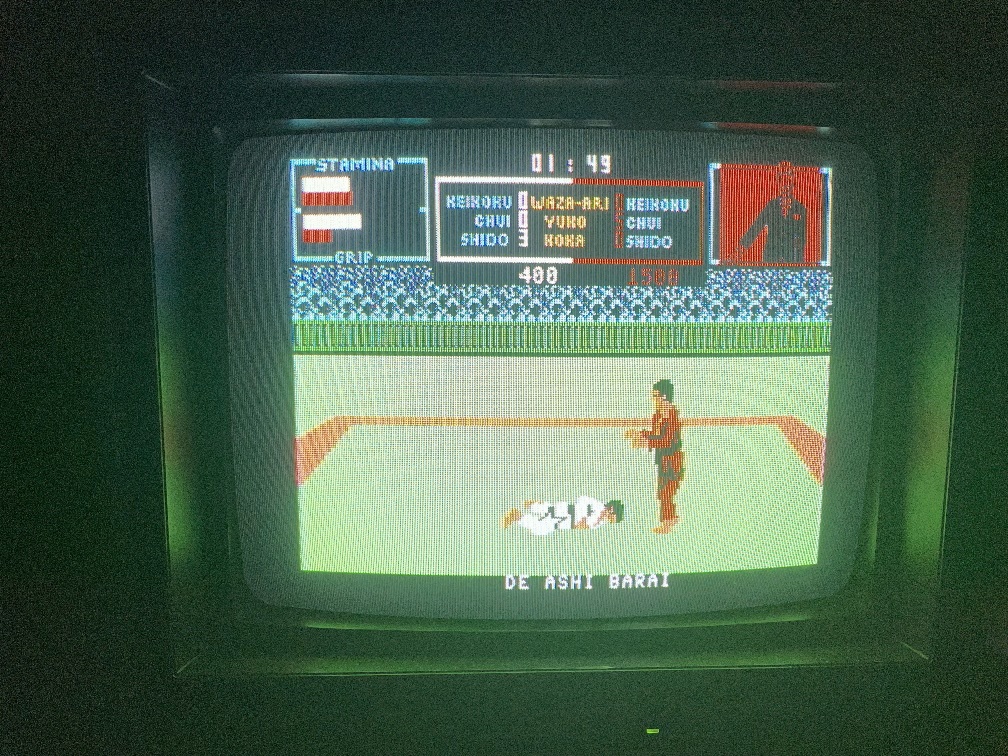
But otherwise, it was just too tricky for me as a rookie.

Uchi Mata Score screen
Cool dragon!

Maybe after some research this one might be more fun.

In my next chapter, 2 driving games. Stay tuned!

Commodore games, part II: Rampage and 720

The next game I tried was “Rampage”, a great 80s arcade game that’s lots of fun. The first time I played it I laughed at one of the monsters eating a guy with a flame thrower and then his breath turns to fire. Sadly, such detail is missing from this game which isn’t surprising given the difference in hardware.

Rampage character select screen
Choose yer beast!

I chose “Lizzie”, mostly because that was the only one the joystick seemed to be able to pick.

Rampage game screen
Wreck It Ralph’s got nothing on Rampage!

The first stage was kind of fun but the joystick I have just gave me limited play ability. If I tried to punch up and smash a helicopter (a necessary move in the arcade game), my punch would go diagonally. If I tried to punch downward diagonally to destroy the building, Lizzie would punch directly to the right. It was pretty annoying.

Eventually I made it to another level:

Rampage game screen
Smash that guy!

But this one took even longer to clear and when I was beat, I just gave up.

720

This was an arcade game I never really played so I wasn’t that enthusiastic to try it out. First it opens with the player hi-score page.

720 Rank list
Those are odd names…

Once you start playing it takes you directly to the skate park:

720 Skate Park
What, no graffiti?

It was actually kind of fun to move around the park and there didn’t seem to be any “danger” like I was expecting (like falling off the board). Eventually I found the map to the park:

720 Game Map
More confusing than a road map

This didn’t really help the game play, though, and nothing I did seemed to affect any play. I tried fancy moves or collecting money but nothing seemed to happen. Eventually I just gave up after about 7-8 minutes.

One last thing; 720 opened with a crack screen, complete with some cool effects and music:

Pirate crack credit screen
Ah, 80s piracy!

Maybe in a subsequent post I’ll research who some of these crackers were as the music they created ended up making a sort of “digital music piracy scene”.

My Commodore 64 restoration journey – GAMES! First run

Okay, this actually isn’t the FIRST experience at running games since I restored this C-64, but I didn’t write anything down then, so I’m starting over.

Put in my first disk which was labeled with multiple games. Clearly this is a pirated disk, but it’s been nearly 40 years (or more so), so I imagine I’m in the clear on this one. If not, I didn’t pirate the games and I don’t imagine I can contact the content owners, so if there is anything I can do please let me know.

Now is the time for the familiar C-64 command to see what’s on the disk:

Load directory screen on the C-64
Time to check a disk!

The pictures might look crummy but that’s due to my taking actual screen shots instead of using an emulator for better pictures.

First up…Mario Bros! To my surprise, the disk loaded and the game actually run!

Mario Bros Splash Screen
Pre-NES!

Mario Bros ran and played normally so I took a stab at it. Let’s fire this thing up.

Mario Bros begins
The game begins!

That’s-a-me, Mario! Nice! The joystick I have is kind of lame so it’s kind of hard to play. Further, I wasn’t a fan of this one in the arcade because Mario slicks around and doesn’t stop very well. But this one was still kind of fun, if nothing else for the nostalgia.

Mario Bros playing
Don’t give up, Mario!

I spent most of my time dodging turtles rather than actively playing the game. I’d still give it about a 6.5/10.

Now let’s play another classic…DEFENDER OF THE CROWN!

Defender of the Crown splash screen
One of the biggest games of the 80s

I didn’t care for this one in the 80s tbh. The graphics were incredible and the idea that they made the game like a movie was outstanding but it sucks that the gameplay wasn’t nearly to the same level.

Defender of the Crown credit screen
Feels like a movie…

The credit scene was pretty cool. But then the disk stopped spinning and nothing happened. Okay, I’ll have to cross this one off the list. SIGH.

More games coming up!

My Commodore 64 restoration journey – Part IV

So now I can type, it’s time to load some games!

This system came with 2 floppy drives; the original 1541 drive that I had back in 1983, and the newer, sleeker 1541-II drive which came later in the 80s.

1541-II drive faceplate

So first I tried the flashy, sweet 1541-II drive. I never could afford one of these in the 80s, so I was dying to try it. I put in a floppy, typed “Load “$”, 8″ and waited for the glory!

TAT-TAT-TAT-TAT-TAT-TAT-TAT-TAT-TAT-TAT-TAT-TAT-TAT-TAT-TAT-TAT

(If you ever used a C64, you know exactly what this sound is)

Nothing worked. Tried disk after disk after disk, no change. So I tried the original 1541. It worked with a few disks but most of them still didn’t work.

In the 1980s it was common that C64 drives would get their drive heads out of alignment. Your software wouldn’t load and you had to pay to have it re-aligned. But this is the Internet age, I looked up how to do it. I kinda sorta figured it out, but at the very least, I needed to clean the drive heads. Time to take apart the drives!

The 1541 on its face
Nurse! Scalpel!

Before I took it apart, I noticed a label in the upper left corner.

1541 with label on corner
I remember stores like these

I looked up “Action Computer” and found dozens of entries but nothing matching this store. The date is 1/20/1989 so I’m not surprised, my guess is this place probably went under well before 1994.

Now I’m gonna have to break that seal…

1541 with back panel off
Open wide and say “ahhhh”

Now I have to remove the top panel to get to the guts.

The 1541's main circuit board
Exposed!

I never did this in the 80s but I have nothing to lose this time. The disk reader is on the bottom and all of the circuitry appeared on a second level above it. To truly align the heads I would have to remove this board as well which I didn’t do.

The CPU of the drive
The brains of the drive

Ah, the MOS 6502!! What was cool to me about this was I remember reading in the 80s that the Commodore peripherals had their own “brains” and complete circuitry. Here you can see the MOS 6502 and many derivatives. The 6502 is what the C64’s actual CPU is based on.

The 1541 drive head
Time to get cleanin’!

I took some Q-tips, doused them with rubbing alcohol, and got to work. These were dirty as it looked like they hadn’t been touched in over 30 years.

The 1541-II drive on its back
1541-II, you’re on deck

Now to do the same with the 1541-II drive. This drive reacted differently so I don’t know if a cleaning will do it, but I thought I’d try anyway.

Exposed 1541-II drive
The “guts” of the 1541-II

Just like the first drive, I cleaned the heads.

Close up of the 1541-II circuitry
Close up!

I cleaned the heads and anything else I could find. The problem is that despite the cleaning, the drive still seems to make noise like the heads just don’t engage the disk. But now that the 1541 is clean, time to test it out!

Coming up next, what did I find on these disks?

My Commodore 64 restoration journey – Part II

Drat! No power! When I hit the power on button the monitor reacted and made a slight buzz sound but the power indicator on the C64 wouldn’t illuminate and nothing appeared on screen. Time for research!

I found quite a few links for “C64 not powering on”, and found this video that really explained a lot. It was the first time I took a C64 apart, something I never would have done as a teenager in the 80s!

I physically checked the chips and there was no obvious burns or broken soldering so it looked like the circuitry was okay. Then they cracked out a multimeter and tested the DC voltage (among other voltages across the motherboard).

Since I didn’t have a multimeter, I really debated how much I wanted to take this. But a multimeter isn’t a bad thing to have for a geek, so I bought one.

After it arrived a few days later, I rewatched the video where they tested the DC input on the C64, so I followed suit. Sure enough, there was low voltage. about 4.1 V DC. I have a bad power supply (PS)!  Looking online apparently this was a common problem with original Commodore PS units.

I figured PS for these would be cheap, and lo and behold the cheapest one I could find was over $70! Now I’m stumped. Do I shell out $70 for a PS only to find the rest of the computer doesn’t really work?

After reading the order form it looked like I could return the PS so it was worth a gamble. I splurged and paid for the PS, anxiously awaiting its arrival. It arrived and I rushed to the garage, connected the PS, and turned it on.

Success!! The C64 powered on!! Nice!! I started hitting the keys and realized half of the keys don’t work. Drat!! All this way for a computer that’s not very usable!

Back to YouTube for help on keyboards……

My Commodore 64 restoration journey – Part I

Hey all.

when I moved last year, my neighbor gave me as a parting gift an old Commodore 64 with a monitor, two disc drives, a printer, tons of discs, three joysticks, and even a dust cover (which, notably, was covered in dust). He said he didn’t even know if it would work, but he didn’t have time to try to figure it out. He asked if I wanted it, and I said sure!

I moved the equipment to a storage area in the garage, and I left it there until earlier this month. Then, I thought, I need to test it out to see if it’s worth salvaging, or if it’s just junk and I would have to get rid of it. Since it came with about 80 floppy disks, including lots of games, I definitely wanted to get it to work.

so I cleared off a space in the garage, hooked it all up, turned it on, and then, NOTHING. I had to research what to do.