I’m writing this from memory so some of the details might be sketchy.
At my last employer in Japan (the place where I took the intro photograph to this site), I was tasked with setting up a basic server to run MySQL. The TL;DR version was that there was a Windows 7 PC that was running MySQL that had data from which reports on Japan’s biggest convenience store chain were run. If this Win 7 PC failed the data would be lost, plus the “server” was underpowered. There was a proposal from a vendor for several thousands of dollars to set up a new server, a new UPS and backup system.
Since we had a second physical server which was not even set up and it was already on the UPS, it seemed foolish to me to purchase and install another one for a PC running MySQL, particularly when it was only being used once a week. I had to set up the disk array, install ESXi, install Linux as one VM, and create a backup routine to our file server which got backed up nightly off site.
Step 1: Set up the disk array
RAID 10 is all the rage these days, but this server wasn’t spec’d for that, so I figured RAID 5 would be the best choice. This server had 4 1.8 TB disks so with RAID 5 we’d have 5.1 TB of storage which was MORE than we’d ever need (the MySQL database was about 10 GB after 7 years, so even 500 GB of total space for this server would be fine).
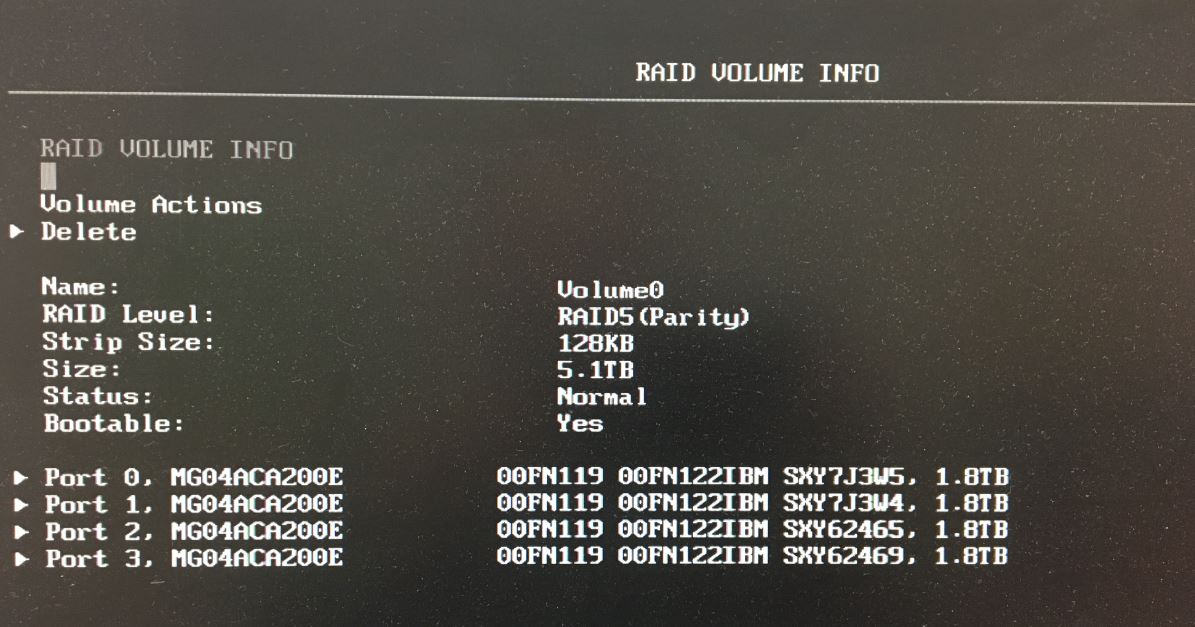
After fixing a boot issue (one of the engineers tried setting up this server earlier but he didn’t understand what UEFI is and he couldn’t get the server to boot into Linux via a USB drive), I went into the controller to set up RAID. Using the controller, I set up a RAID 5 array:

Great, all set. Now reboot and let’s run ESXi setup. I’ll select the disk volume and get going.
Step 2: install ESXi manager

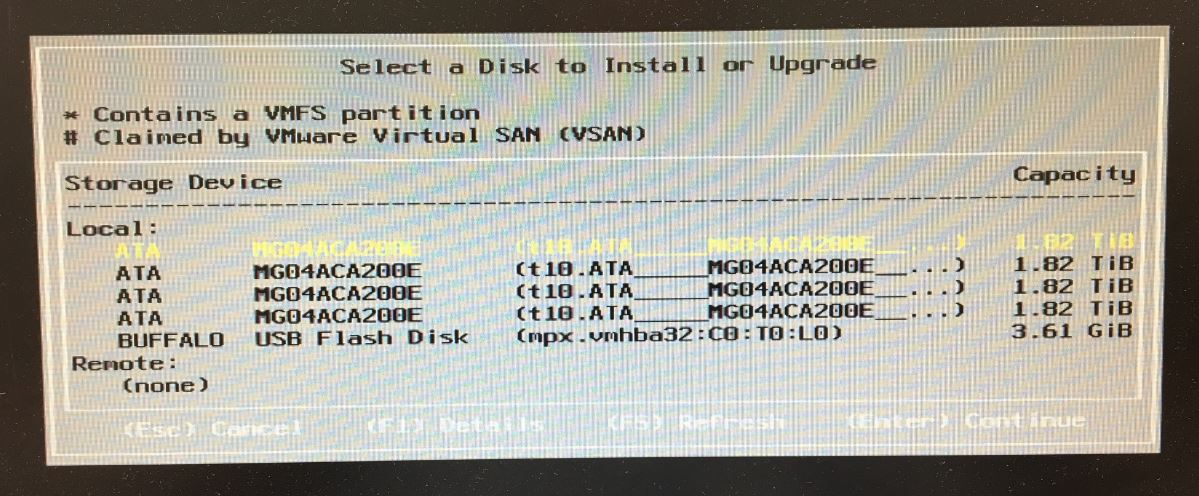
Hmmm…no array, it only sees the individual disks. Something doesn’t look right here. Long story short, after going back into the controller setup, RAID 5 was no longer set up and it only had individual disks again. After running around with this after several passes, I searched for help on the Lenovo forums. First thing was I booted onto a Linux boot disk and check the hardware. I needed which controller was being used, and found this:

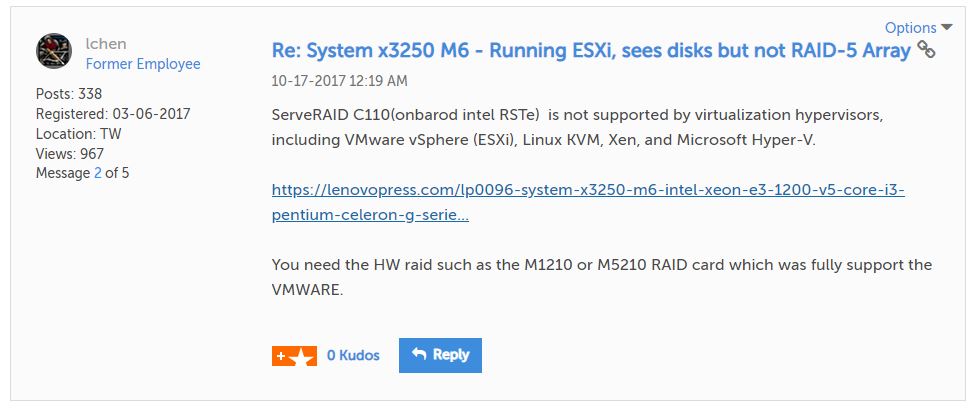
I looked up this controller on the hardware compatibility list (HCL) for VMWare, so I’m stumped. Time to turn to the Lenovo forums. This is a reply I got:
(thread is short but can be found here)
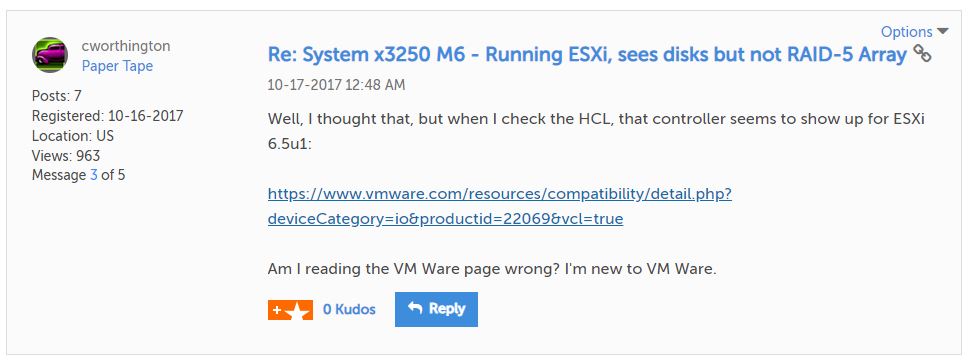
 But since I checked the hardware compatibility list, it showed this controller as being compatible. I had to reply:

Regrettably, I was still going to be sunk:
According to Lenovo support apparently this server’s controller won’t support RAID arrays with ESXi and will require an expensive upgrade. Ugh.
So skipping straight to the solution:
I had to set up 4 individual disks, with the last one serving as a backup for the virtual machines on the other 3 disks. Since the backup volume ALSO maxed out at 1.8 TB, I made sure the other 3 disks were only 600 GB or less so they could back up to the fourth disk. I also ensured that the MySQL database was backed up to another file server so in case the database became corrupted it was backed up.
So final tally:
3 VMs x 600 GB -> Backed up to 1.8 TB volume (which itself was backed up once every 3 months). The remaining 1.2 TB per volume would be unused at the moment.
1 MySQL database (roughly 10 GB) backed up to a file server once a week (it was only used once a week)
Each of the backups listed above was backed up to our file server, which was backed up nightly offsite.
This solution wasn’t ideal but it would work.


